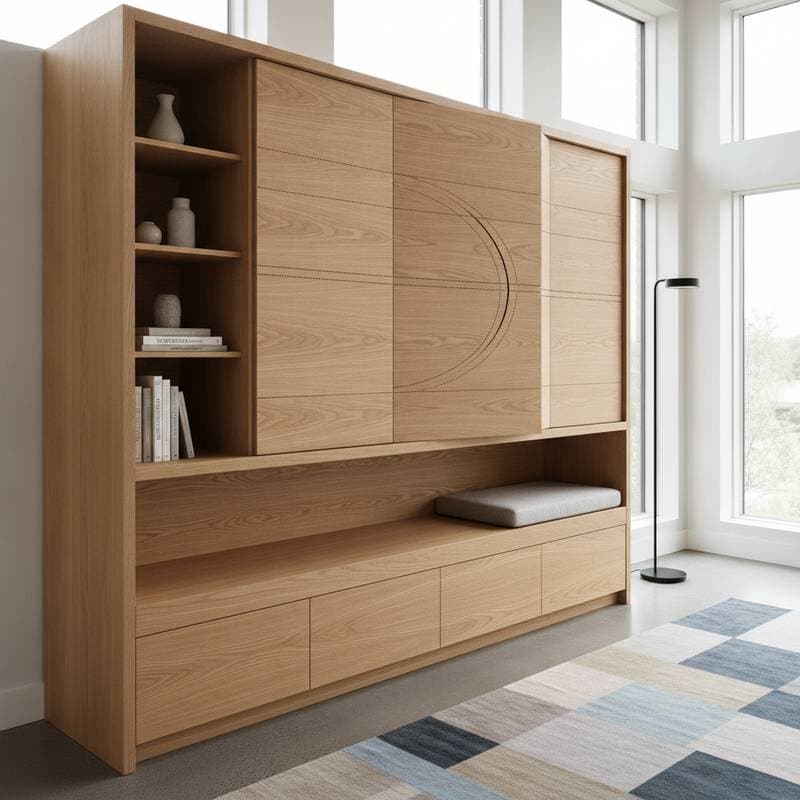
Flexible Wood Joints Revolutionizing Built-In Furniture
Curved cabinet doors that open smoothly, benches that bend around corners without seams, and shelving that flows like fabric sound futuristic. They are all possible with flexible wood joints. Also known as living hinges or kerf-bent joints, these techniques let you create continuous wooden surfaces that move or flex without breaking. For built-in furniture, this approach is reshaping what you can achieve with standard sheet goods.
At a Glance
- Typical Material: Baltic birch plywood or hardwood veneer
- Kerf Spacing: 1/8 to 1/4 inch between cuts
- Ideal Thickness: 1/4 to 1/2 inch panels
- Cost Range: $45 to $120 per sheet
- Skill Level: Intermediate to advanced
- Best Uses: Cabinet doors, curved panels, integrated seating
Why Flexible Wood Joints Are Changing Built-Ins
Traditional furniture relies on fixed joinery like mortise and tenon or pocket screws. These are strong but rigid. When you need a smooth curve or a hinge built directly into a panel, standard joinery limits design freedom. Flexible joints bridge that gap by allowing the wood itself to bend. This creates movement without mechanical hardware.
The principle is simple. A series of parallel kerfs, or narrow cuts, remove enough material to let the remaining wood fibers compress and stretch along the curve. The result is a living hinge. It forms a continuous surface that bends in one direction while keeping structural integrity.
This technique reduces the number of parts, lowers material waste, and eliminates metal hinges or plastic inserts. Builders report saving up to 30 percent on hardware costs in projects with multiple moving components. The finished look is seamless, organic, and durable when sealed correctly.
Why It Works
Wood fibers are naturally elastic across the grain. By controlling the cut pattern, you allow movement where it is needed while preserving strength elsewhere. The flexibility depends on several factors.
- Kerf Depth: Usually 70 to 90 percent of panel thickness.
- Kerf Spacing: Closer spacing increases flexibility but weakens support.
- Grain Orientation: Cuts should run perpendicular to the grain for the best bend.
Once bent, the piece can be glued into a curved form or left to flex as a hinge. Many woodworkers apply a thin fabric or veneer backing to reinforce the joint and prevent cracking.
Step-by-Step: Creating a Living Hinge Panel
Here is a reliable workflow for making flexible joints in plywood or solid wood sheets.
- Plan the curve radius. A tighter curve needs more kerfs. For a 6-inch radius, space cuts about 1/8 inch apart.
- Set up your saw or CNC. Use a blade that leaves a clean 1/8-inch kerf. Keep consistent depth.
- Test a scrap piece. Bend gradually to check flexibility and strength before cutting the final panel.
- Cut the pattern. Make parallel grooves across the bending area, leaving uncut wood for the hinge spine.
- Form the bend. Slowly flex the panel by hand or clamp it into a curved jig.
- Stabilize. Apply glue or backing as needed, then sand and finish.
Each step affects performance. Rushing the bend can split fibers. Uneven cuts cause inconsistent flex. Take your time and make multiple test runs before committing to a final piece.
Costs and Budget Planning
Flexible joints are cost-effective compared to complex laminated curves or steam bending setups. The main expense is labor time and precision tooling.
- Material costs: Quality plywood runs $45 to $120 per 4x8 sheet. Expect to use one to two sheets for a medium cabinet or bench.
- Tooling costs: A fine-tooth table saw blade or CNC bit costs $40 to $100.
- Labor time: A skilled builder can machine a panel in 2 to 3 hours including setup and sanding.
For a built-in unit with several curved sections, total added cost may reach $300 to $600 over standard flat-panel construction. The benefit is a custom look and fewer hardware points that can loosen over time. Many homeowners find that the long-term stability and reduced maintenance offset the initial expense.
Money-Saving Tips
- Use offcuts for practice and small curved elements.
- Seal kerfed areas carefully to prevent moisture absorption.
- Avoid overcutting. Deeper kerfs shorten lifespan.
- Consider hybrid panels, where only visible sections flex.
DIY or Professional Build
You can create flexible joints at home with basic tools, but precision matters. A small miscut can ruin the bend or cause uneven stress.
DIY Friendly When:
- You have a quality table saw or CNC router.
- The bend radius is gentle, above 8 inches.
- Surface finish is painted or veneered to hide any imperfections.
Hire a Professional When:
- The curve is tight or structural.
- The wood will remain exposed and needs flawless appearance.
- The project integrates with built-in cabinetry or wall framing.
Ask potential fabricators about previous kerf-bent projects and whether they use digital templates. Professionals often use CNC cutting for exact repeatability. This is critical when multiple panels must align.
Common Mistakes and How to Avoid Them
Flexible joints are forgiving in movement but unforgiving in setup. These issues appear most often.
- Cutting too deep: Leaves little material for strength. Keep at least 10 percent of thickness intact.
- Ignoring grain direction: Causes cracking when bending across the wrong axis.
- Skipping sealing: Unfinished kerfs absorb moisture, leading to swelling or delamination.
- Poor spacing: Uneven gaps cause jerky movement or visible ridges.
To fix a weak bend, apply a thin epoxy or wood glue layer into the kerfs and re-clamp it gently. Once cured, the area regains stability without losing flexibility.
Living with Flexible Built-Ins
Flexible joints open up creative shapes that were once limited to high-end fabrication. Curved drawer fronts, integrated seating along bay windows, and sculpted wall storage now fit within reach of small workshops.
Maintenance is simple. Keep humidity stable, reseal edges every few years, and inspect hinge zones for wear. If minor cracks form, fill them with tinted epoxy before they spread.
Applying These Techniques
Plan your project carefully. Map curves digitally or with cardboard templates. Label bending zones clearly before cutting. Use consistent spacing across all panels for uniform motion. Finish every exposed kerf with two coats of polyurethane or oil.