Why Parametric Tools Perfect DIY Furniture Builds
Parametric design tools have reshaped how woodworkers approach furniture creation. Traditional methods relied on numerous static drawings and iterative trial cuts. Now, these tools allow modeling, adjustment, and virtual rebuilding through controlled variables. For home woodworkers and small operations, this approach accelerates prototyping, minimizes material errors, and streamlines the transition from digital model to production-ready plans.
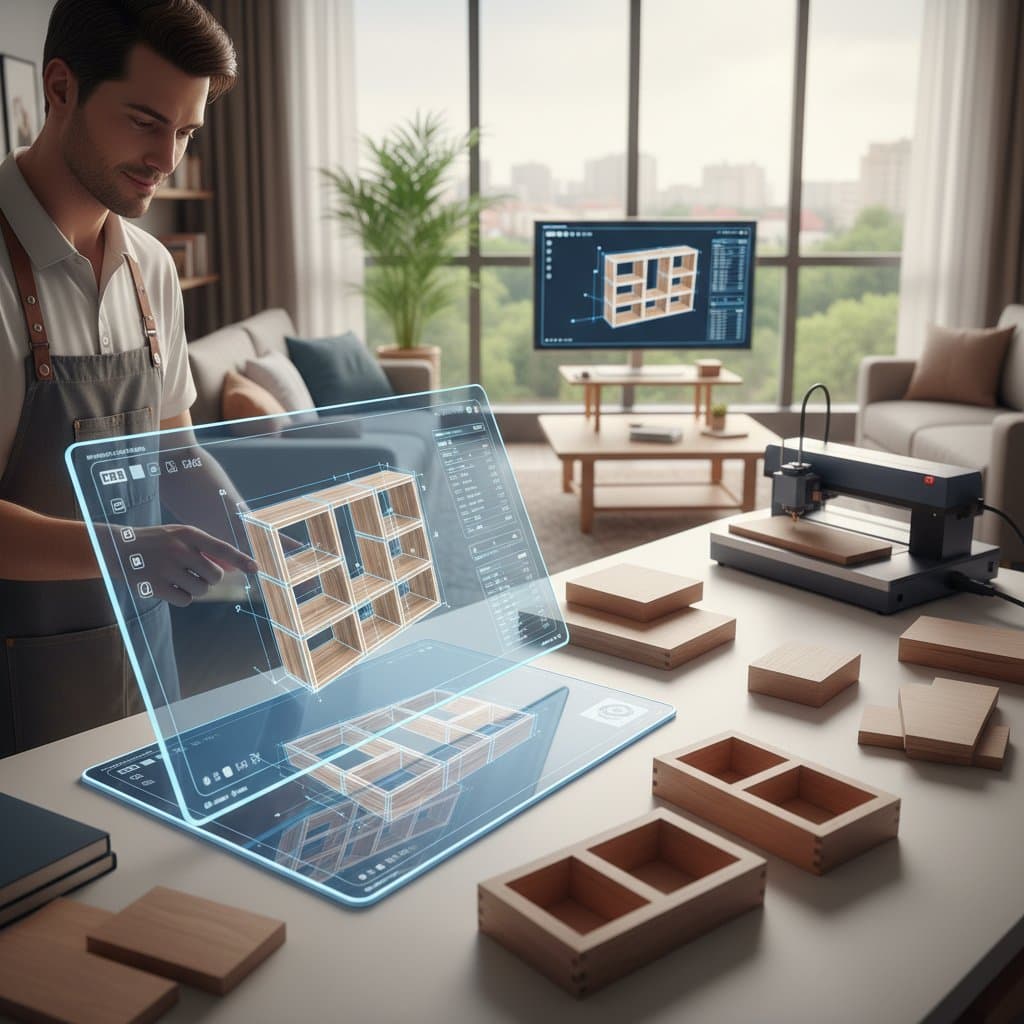
Whether crafting a record cabinet, modular desk, or fitted bench, parametric software like Fusion 360 enables designs beyond rigid measurements. Woodworkers define relationships between elements. A single parameter adjustment updates the entire model. This capability simplifies customization for varied spaces or clients without reworking every joint.
At a Glance
- Users: DIY woodworkers, small fabrication shops, design students, and semi-professional makers
- Core challenge: Converting hand sketches into precise, adaptable 3D models that maintain accuracy during dimension changes
- Key technique: Applying parameters and constraints to govern relationships between components
- Primary software: Autodesk Fusion 360, utilizing the parametric modeling workspace
- Project scale: Ranging from a 30-inch by 18-inch (762 mm by 457 mm) side table to a 96-inch by 40-inch (2438 mm by 1016 mm) dining table
- Visuals: Studio reference images from Fusion 360 community contributors
Challenges in Traditional Design
Conventional DIY furniture design begins with paper sketches or basic 2D drawings. These appear straightforward initially. However, altering one measurement demands complete redrawing. Drawer fronts misalign, joinery depths vary, and panel thicknesses fail to correspond.
Hobbyists often find this phase aggravating. Woodworker Carla Nguyen shared, “I loved designing in my notebook, but each time I changed the overall width, my dovetail layout was off again. I spent more time fixing drawings than cutting wood.”
Scale and consistency pose the main issues. Human errors in redrawing minor adjustments accumulate across the project. A discrepancy of just 1/8 inch (3 mm) between parts leads to assembly problems.
Benefits of Parametric Modeling
Parametric design substitutes static sketches with dynamic models. Woodworkers establish rules and interdependencies rather than fixed lines. Increasing table width by six inches (152 mm) automatically recalibrates leg spacing, apron lengths, and top overhangs.
In Fusion 360, components connect via parameters. For instance, a shelf depth might equal half the cabinet depth minus back panel thickness. Modifying cabinet depth instantly resizes the shelf.
Digital woodworking instructor Miguel Ortega noted, “The model behaves like a living thing. You program relationships once, and it keeps them consistent forever.”
These advantages extend to the workshop. Generate cut lists and CNC paths straight from the model. Slots, dados, and mortises align precisely. Offcuts result from optimized nesting, not mistakes.
Essential Design Features
- Material adaptability: Switch from 3/4-inch (19 mm) plywood to 1-inch (25 mm) hardwood by updating one variable.
- Joinery precision: Constraints guarantee tenon thickness matches mortise width.
- Hardware placement: Hole spacing for drawer slides or hinges adjusts with cabinet dimensions.
- Custom fits: Model wall irregularities for built-ins and refine scribe edges pre-cutting.
- File outputs: Produce DXF or G-code for CNC routers or laser cutters without additional measurements.
These elements conserve fabrication time while upholding uniformity. A parametrically designed table scales effortlessly for new clients or environments.
Broader Implications for Woodworking
Parametric tools extend beyond efficiency. They foster a deeper understanding of proportion and joinery. Relational dimensions highlight part interactions, viewing furniture as an interconnected system.
For DIY enthusiasts, this perspective yields professional outcomes. Digital dry-fits verify clearances for drawer slides and simulate hardware operation. Assembly proceeds smoothly when virtual checks confirm fits.
Planning for lighting and finishes improves as well. Apply lighting layers to observe reflections on surfaces or shadows on shelving. This preview informs material choices before purchase.
Establishing a Parametric Workflow
1. Sketch Initial Concepts
Start with rough sketches outlining design objectives. Determine adjustable elements, such as variable table length and height with fixed leg profiles. In Fusion 360, create a new component for each primary part.
2. Set Parameters
Access the Parameters dialog via the Modify menu. Assign clear names like table_length, table_width, and apron_thickness. Use inches and millimeters for values. Link dependent sizes with equations, such as apron_length = table_length - 2 * leg_width.
3. Implement Constraints
Apply geometric constraints to sketches early. Ensure legs remain perpendicular, maintain equal distances, and enforce symmetry. These locks preserve balance during parameter shifts.
4. Validate Changes
Prior to 3D extrusion, test parameters by altering one or two values incrementally. Monitor for breaking or detaching elements. Refine relationships until the model adapts fluidly.
5. Integrate Joinery
Incorporate joints, mortises, and dados within the parametric framework. Base depths and widths on material thickness, like mortise_depth = material_thickness / 2. This maintains joinery integrity across material swaps.
6. Visualize and Adjust
Leverage Fusion 360’s render tools to apply materials such as birch plywood, walnut veneer, or powder-coated steel. Assess tone interactions. Introduce directional lighting to evaluate highlights.
7. Export Production Files
Once finalized, derive cut sheets or tool paths. The software computes dimensions automatically, bypassing manual recalculations for size or material variations.
8. Iterate from Fabrication
During building, incorporate real-world adjustments into the model. If a board measures short, update the thickness parameter. Subsequent assemblies reflect these corrections.
Core Strengths for DIY Projects
- Uniformity: Changes propagate accurately, avoiding misalignments.
- Productivity: A single model accommodates diverse sizes.
- Precision: Virtual testing uncovers flaws pre-cutting.
- Reusability: Models form templates for ongoing work.
- Workflow synergy: Interfaces seamlessly with CNC or laser processes.
These attributes position parametric methods as essential in contemporary woodworking. Initial technicality gives way to intuitive application with experience.
Case Study: Modular Entry Bench
Designer Sarah Kim developed a modular entry bench in her compact workshop using Fusion 360. The design features cubbies, a shoe drawer, and a top shelf within 54 inches by 16 inches (1372 mm by 406 mm).
Previously, client size requests necessitated full redesigns. Now, length adjustments occur via one parameter, scaling the bench while preserving joinery. Kim stated, “I can deliver a new version in minutes. All the joinery stays correct, and my CNC files update automatically.”
The build employs 3/4-inch (19 mm) plywood with finger joints linked to material thickness. Adjustable toe_kick_height and bench_height values reposition drawer slides and panels for user height variations.
Enhancing Visual and Functional Decisions
Parametric tools aid decisions on aesthetics and utility. Preview finishes under simulated lighting in Fusion 360. Compare matte oil diffusion against gloss lacquer sheen.
For a dining table, apply 2700-kelvin soft white light to gauge color. Vary angles to spot edge highlights. Digital refinement minimizes post-finishing adjustments.
Woodworker Daniel Reed observed, “I used to guess how stain would look in my kitchen lighting. Now I render it first. It saves me from buying the wrong finish.”
Efficiency Metrics and Considerations
Mastering the software involves a learning phase, but returns come swiftly. Novices invest 15 to 20 hours on initial models. Subsequent adaptations require under an hour.
Expenses cover subscriptions and potential CNC services. Material and time savings recoup costs after several projects.
Performance Indicators
- Initial design time: 15 to 25 hours per project
- Revision time: 30 to 60 minutes per variant
- Waste reduction: Up to 20 percent via optimized nesting
- CNC precision: Tolerances of 0.005 inch (0.13 mm)
These figures underscore gains in efficiency and reliability.
Optimizing Storage Solutions
Parametric design refines internal layouts for storage pieces. Tie drawer dimensions to space and requirements.
- Flexible shelving: Connect spacing to cabinet height for reconfiguration.
- Concealed features: Verify hinge and latch clearances pre-fabrication.
- Cable routing: Embed adjustable slots for electronics based on device parameters.
Such integrations elevate both form and function.
Balancing Parametric Approaches
Setup demands precision; unclear parameters or conflicting links cause instability. Begin with simple elements like a drawer before complex assemblies.
Maintain accurate hardware data, including screw lengths and hinge specs, in reference files. Avoid excessive parameterization; anchor fixed dimensions for model stability.
Applying Parametric Principles
Parametric tools evolve static designs into flexible, relational frameworks. Fusion 360 interconnects dimensions for reliable scaling. This method enhances planning for layouts, storage, and visuals. Small operations gain from rapid iterations and lower waste. Practice builds a versatile template library suited to diverse needs.