Venetian Plaster: Luxe Wood Finish Trend for 2025
A dining table finished in Venetian plaster can stop guests mid-sentence. The surface gleams like stone, yet feels soft to the touch. Designers appreciate it for its quiet drama. Woodworkers now apply Venetian plaster not only to walls but also to furniture and millwork. This trend delivers a high-end appearance with customizable depth, texture, and color that standard stains seldom match.
What Venetian Plaster Really Is
Venetian plaster consists of a blend of lime putty and finely ground marble dust. When artisans apply it in thin layers and burnish it, the material forms a smooth, stone-like surface that reflects light beautifully. On wood, it adheres through a primer and sealer system that prevents moisture absorption and cracking.
The material offers tactile depth that enhances its appeal. Unlike paint, which merely coats the surface, Venetian plaster integrates into the finish. Artisans hand-trowel each layer to introduce subtle movement and variation. As a result, no two pieces appear identical, which suits custom furniture builders and designers who prioritize exclusivity.
A polished Venetian plaster finish achieves a hardness rating comparable to limestone. It resists scratches more effectively than most painted finishes. Professionals seal it for added moisture protection. With proper maintenance, the sheen endures for decades.
Action step: Before application, test the plaster on a scrap piece of wood to assess absorption, adhesion, and final tone.
Costs and Budget Planning
Professionals charge between $14 and $28 per square foot for a Venetian plaster finish on wood. This range accounts for pigment selection, surface preparation, and labor intricacy. Specialized options, such as metallic or pearlescent plasters, may cost up to $35 per square foot.
For a DIY project, materials cost approximately $4 to $7 per square foot. This figure includes primer, plaster, pigment, and wax. Essential tools, including steel trowels, sponges, and microfiber pads, add $100 to $200 to the total.
Key price factors:
- Surface complexity: Flat panels require less expense than carved or curved elements.
- Color layering: Multi-tone applications increase costs by 15 to 25 percent.
- Protective coating: Wax or resin sealers add about $1 per square foot.
- Labor time: Each coat demands drying and burnishing, which may extend the process to three days for a standard table or cabinet front.
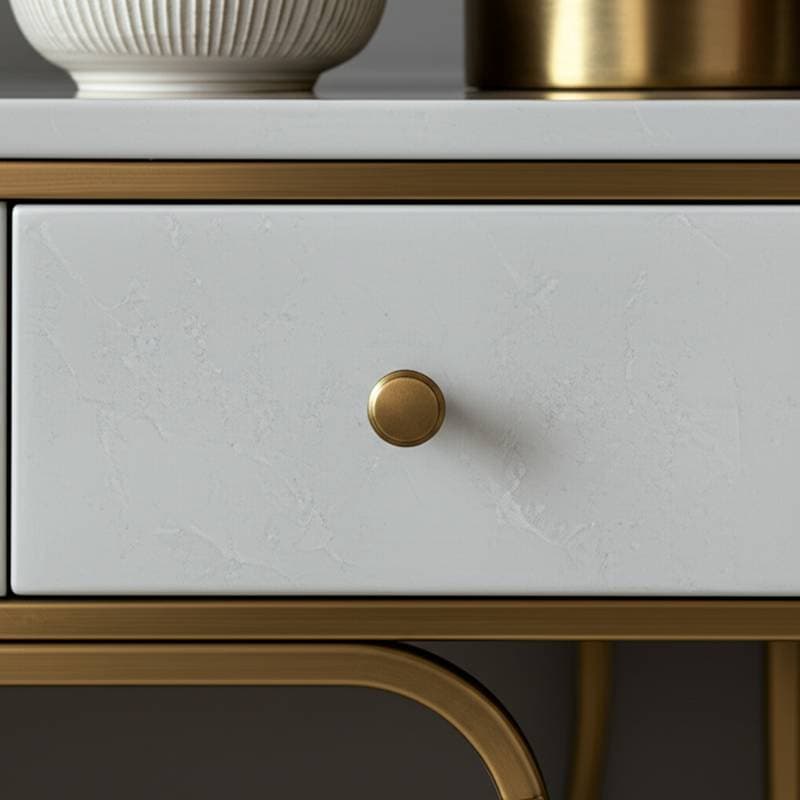
To manage expenses, select a matte or satin finish over a high polish. Apply Venetian plaster as an accent to drawer faces or panels rather than full surfaces. Such targeted uses often provide sufficient visual impact while minimizing outlay.
Action step: Obtain written quotes that specify material brands, number of coats, and protection methods to identify potential hidden costs.
Common Mistakes to Avoid
Venetian plaster tolerates minor imperfections in appearance, yet errors in preparation or curing can compromise the outcome. Most problems stem from moisture control, adhesion issues, or improper technique.
Top mistakes:
- Skipping primer. Raw wood absorbs moisture unevenly, leading to cracking. Seal the surface first.
- Applying thick layers. Thick applications trap moisture and cause bubbling. Limit each layer to under one millimeter.
- Rushing burnishing. Polishing prior to full setting weakens adhesion and diminishes shine.
- Over-sanding. Excessive sanding between coats erodes depth and introduces scratches.
- Ignoring climate. High humidity can double drying times. Ensure full curing before sealing.
In cases of cracking or flaking, lightly sand the affected area, apply a bonding primer, and integrate new plaster in thin layers. Refrain from aggressive removal that could harm the underlying wood grain.
Action step: Employ a hygrometer to verify indoor humidity remains below 65 percent prior to beginning work.
Making It Your Own
Venetian plaster provides extensive creative possibilities for woodworkers and designers. Tint it with natural oxides, metallic powders, or pearlescent mica to achieve desired effects. Combine matte and glossy areas for visual contrast. Introduce subtle veining with a dry brush technique before the final burnish.
Pair the finish with woods such as walnut, oak, or ash to balance warmth against the cool sheen. In modern interiors, apply pale gray or ivory plaster over light maple for a refined tone-on-tone result. In classic settings, use deep umber or sienna pigments to evoke old-world charm.
Next steps for your project:
- Test the plaster on small wood offcuts to perfect your technique.
- Compare waxed and unwaxed samples under various lighting conditions.
- Develop your color palette in advance, as pigment saturation shifts during curing.
- Safeguard your workspace with plastic sheeting and maintain consistent temperature control.
Benefits of Venetian Plaster for Wood Projects
Venetian plaster elevates wood pieces to luxurious heights while preserving the material's natural integrity. Its breathable composition allows wood to expand and contract without damage, ensuring longevity in diverse environments. The finish enhances light reflection, making spaces feel brighter and more expansive.
Homeowners and professionals alike value its low-maintenance qualities. Routine dusting suffices, and occasional re-waxing restores luster without extensive effort. By adopting this technique, creators produce heirloom-quality items that blend timeless elegance with contemporary appeal, justifying the investment through enduring satisfaction.