Shellac's Resurgence in 2026: Rapid Finishes for Woodworking Enthusiasts
A superior finish elevates any woodworking endeavor from ordinary to exceptional. Woodworkers increasingly turn to shellac, a time-honored option that sets in mere minutes, imparts profound color depth, and accommodates contemporary as well as classic designs. Previously eclipsed by options like polyurethane and lacquer, shellac now gains traction in boutique workshops and bespoke fabrication settings, where efficiency, ease of maintenance, and inherent elegance hold paramount importance.
Advantages of Shellac in Contemporary Workshops
Shellac offers rapid drying times, straightforward sanding, and the capacity for several applications within one session. When brushed or padded on, it creates a seamless layer that accentuates the wood's natural patterns without undue darkening. Professionals and hobbyists alike complete three to four layers in a single afternoon, streamlining production for time-sensitive commissions.
Derived from lac resin secreted by insects and dissolved in alcohol, shellac avoids harsh solvents and emits a subtle aroma that dissipates swiftly. This composition suits enclosed workspaces with minimal airflow. Finishes range from a subtle sheen achieved through light polishing to a brilliant luster via progressive sanding and buffing with progressively finer abrasives.
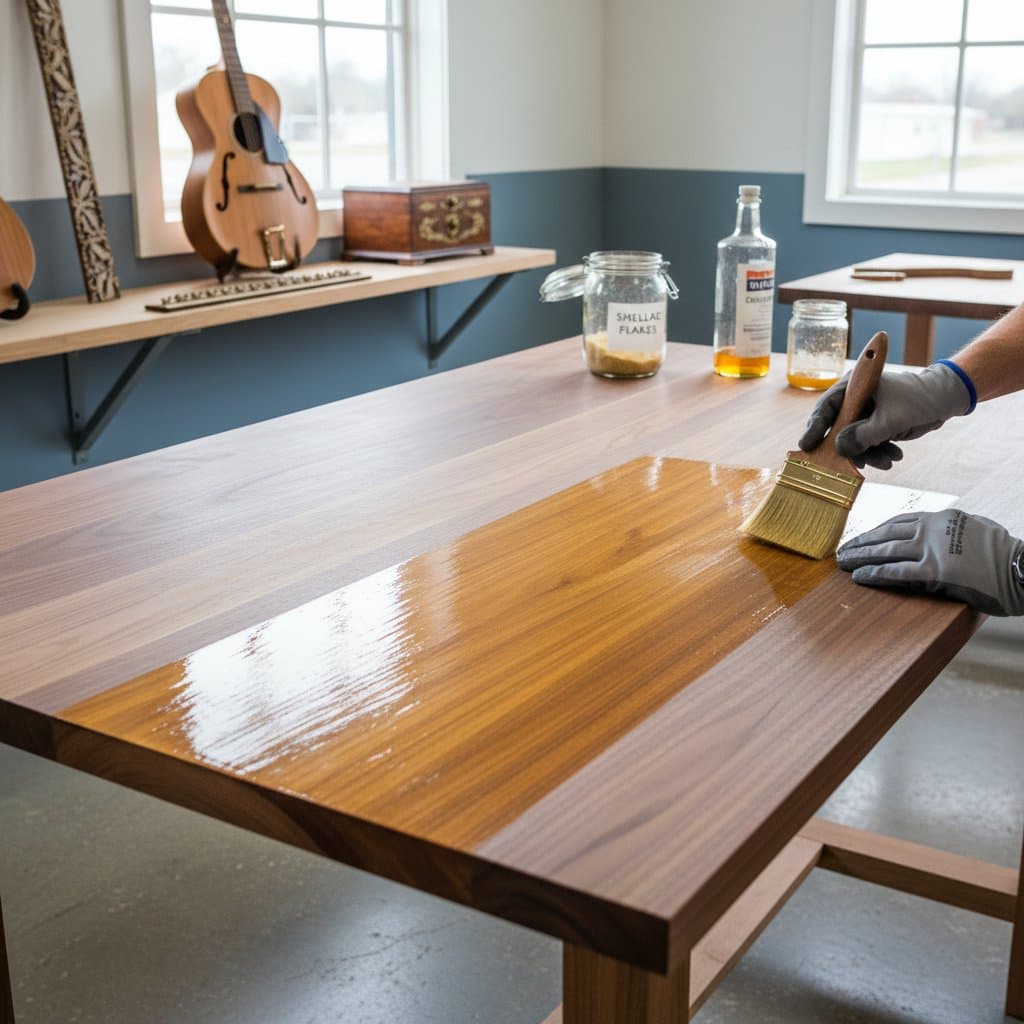
To optimize results, maintain shellac flakes in sealed vessels and prepare only necessary quantities. A one-pound cut, consisting of one pound of flakes per gallon of denatured alcohol, yields a fluid consistency ideal for even coverage and self-leveling properties.
Application Techniques for Optimal Results
Select a high-quality natural-bristle brush for broad surfaces or a cotton pad for French polishing on intricate details. Begin with a clean, dust-free workpiece; apply thin coats to prevent runs. Allow each layer to tack up for five to ten minutes before the next, ensuring adhesion without dissolution of prior applications.
For enhanced durability on high-touch areas, incorporate pumice or rottenstone during the final buffing stage. This process not only refines the surface but also embeds microscopic particles that bolster resistance to minor abrasions.
Economic Considerations for Shellac Projects
One quart of ready-to-use shellac typically covers 100 to 125 square feet, depending on wood porosity and application method. For a standard dresser project, material expenses range from $30 to $50. Purchasing flakes in five- or ten-pound quantities reduces costs by up to 50 percent, although fresh mixing every three to six months preserves potency.
Essential tools include brushes priced at $12 to $25 and denatured alcohol at approximately $10 per quart for dilution. Compared to polyurethane or catalyzed lacquer, shellac proves more economical when factoring in reduced labor from instantaneous drying and minimal cleanup.
Opt for dewaxed flakes to enable compatibility with overlying finishes like varnish or oil-based products. This versatility allows initial shellac use as a base, followed by protective topcoats for demanding environments.
Budgeting Strategies
- Calculate coverage needs based on project dimensions; add 20 percent buffer for waste.
- Source flakes from reputable suppliers to ensure consistent flake size and purity.
- Invest in reusable mixing jars to streamline preparation and minimize alcohol evaporation.
Mastering Shellac for Novices and Experts
Shellac stands out as an accessible finish for newcomers, with mastery achievable through practice on scrap lumber. Key to success involves steady hand control to eliminate lap marks, which diminish with experience in regulating applicator pressure and speed. Seasoned artisans employ shellac as a universal sealer beneath paints or as a standalone treatment for heirloom pieces, stringed instruments, and antique restorations.
In scenarios demanding superior moisture resistance, such as exterior trim or humid interiors, layer shellac over dewaxed varieties with a robust varnish topcoat. For interior cabinetry and ornamental furnishings, pure shellac delivers unmatched transparency and a warm, amber-toned enhancement to the wood.
Troubleshooting Common Issues
- Brush Marks: Thin the mixture slightly and maintain a light touch.
- Cloudiness: Ensure alcohol purity and avoid moisture contamination.
- Slow Drying: Work in a warm, low-humidity space to accelerate evaporation.
Maintaining and Repairing Shellac Surfaces
While shellac lacks the unyielding toughness of synthetic urethanes, it excels in aesthetic appeal, straightforward repairs, and application velocity. Address spills immediately with a soft cloth dampened in alcohol to prevent etching. Revive dulled sections by lightly sanding and reapplying a targeted coat, which integrates seamlessly with the existing film.
Over time, shellac develops a patina that enhances its vintage charm, particularly on tabletops and moldings. Periodic renewal every few years sustains its protective qualities without full stripping.
Integrating Shellac into Your Workflow
For those prioritizing swift setup, negligible odors, and genuine wood expression, shellac warrants reintegration into the toolkit. Prepare a modest batch and experiment on offcuts to observe its transformative effect. This approach not only boosts project efficiency but also revives traditional techniques in modern practice, yielding enduring, visually striking outcomes.