Unlock Dust-Free Sanding with DIY Downdraft Tables
Fine dust particles transform woodworking sessions into tedious cleanup tasks. These particles adhere to surfaces, irritate respiratory systems, and accelerate tool wear. A downdraft table addresses this issue by drawing dust downward through a perforated work surface linked to a vacuum or dust collector. Individuals construct such tables using basic tools and readily available materials. The outcome includes improved air quality, enhanced surface finishes, and reduced sweeping time.
Why a Downdraft Table Matters
Sanding generates particles as small as one micron in size. These particles linger in the air well after the sanding process ends. A downdraft table captures this dust at its origin by directing airflow downward through perforations. This method safeguards respiratory health, minimizes airborne contaminants, and ensures cleaner application of finishes.
Effective systems require a minimum airflow of 350 cubic feet per minute (CFM). This level suffices to capture dust from workpieces ranging from small to medium sizes. Connection to a standard dust collector or powerful shop vacuum enables even compact tables to deliver substantial benefits.
Action Step: Examine the CFM rating of an existing shop dust collector. Ratings exceeding 400 CFM adequately support a medium-sized downdraft table while maintaining suction for additional tools.
Design and Construction Basics
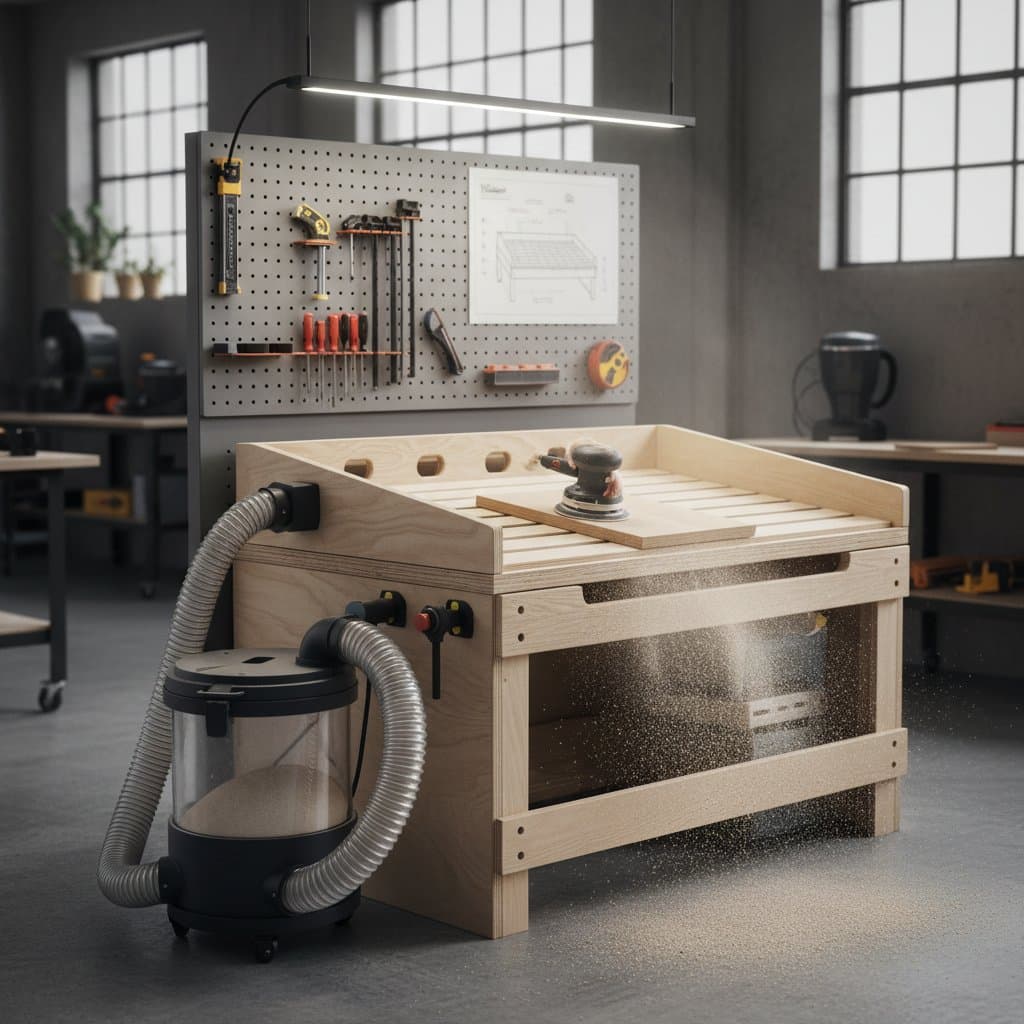
Begin construction with a sturdy frame measuring 24 inches by 36 inches for versatility in handling various workpiece sizes. Select 3/4-inch plywood for the base and sides to ensure durability. Cut the top surface from pegboard or perforated hardboard, ensuring holes measure 1/8 inch in diameter for optimal airflow without excessive vacuum loss.
Assemble the frame using wood glue and screws for secure joints. Install a dust collection chamber beneath the perforated top, typically 4 to 6 inches deep, lined with smooth plywood to facilitate dust flow. Attach a 4-inch dust port at the rear of the chamber, compatible with standard shop vacuum hoses.
Material Selection Tip: Opt for medium-density fiberboard (MDF) over pegboard if frequent heavy sanding occurs, as MDF withstands abrasion better while maintaining perforation integrity.
Costs and Budget Considerations
Budget allocation ranges from $120 to $300, influenced by table dimensions and material choices. The following outlines a standard cost breakdown:
- Plywood sheets: $40 to $70
- Perforated surface (pegboard or MDF): $25 to $50
- Dust port and hose fittings: $20 to $40
- Sealants, screws, and hardware: $15 to $30
- Optional upgrades (fan or advanced filter): $30 to $80
Ownership of a dust collector keeps expenses toward the lower spectrum. Acquisition of a dedicated small unit elevates the total investment to approximately $500.
Money-Saving Strategies:
- Incorporate scrap plywood remnants from previous projects.
- Omit surface finishes unless exposure to moisture demands protection.
- Repurpose a discarded kitchen cabinet carcass as the foundational structure to conserve both time and resources.
Essential Investments: Prioritize airtight seals and robust hose connections. Compromised seals diminish suction efficiency and amplify operational noise levels.
Common Mistakes to Avoid
- Insufficient airflow capacity. Shop vacuums rated below 200 CFM fail to generate adequate air movement for effective dust capture.
- Presence of air leaks. Minor gaps in construction erode suction power. Apply silicone caulk or foam weatherstripping to all seams.
- Accumulation on perforated surfaces. Dust buildup obstructs airflow over time. Vacuum the top surface weekly to sustain performance.
- Inadequate internal baffling. Absence of deflectors leads to uneven dust distribution and diminished overall efficiency. Install angled plywood dividers within the collection chamber.
- Inappropriate working height. Align the table surface with existing workbench or sander elevations to prevent ergonomic strain during extended use.
Quick Troubleshooting: Weak suction often stems from hose obstructions or soiled filters. Inspect and clear these components promptly to restore functionality.
Pro Tips for Enhanced Performance
Incorporate a removable filter tray positioned directly below the perforated top. This feature traps ultrafine particles and simplifies maintenance routines.
Equip the table with foldable side panels to enclose larger workpieces and contain escaping dust particles.
Place a noise-dampening mat beneath the dust collector unit to attenuate operational sounds in the workshop environment.
Secure the hose connection with rubber grommets to minimize vibrations transmitted through the structure.
For handling diminutive components, overlay a fine mesh grate atop the perforated surface. This prevents pieces from being drawn into the vacuum while permitting airflow.
Consider integrating adjustable legs for height customization, accommodating seated or standing sanding positions as needed.
Sustaining Long-Term Effectiveness
Regular maintenance preserves the downdraft table's efficiency and extends its service life. Empty the dust collection chamber after every sanding session to avoid overflow and maintain strong suction. Inspect seals and fittings monthly, reapplying caulk where wear appears.
Clean the perforated top with compressed air or a soft brush to dislodge embedded particles. Replace any clogged filters in the connected dust collector according to manufacturer guidelines, typically every three to six months depending on usage intensity.
Monitor airflow performance periodically by placing a lightweight paper scrap near the surface; consistent downward pull indicates optimal operation. Address any deviations immediately to prevent dust reaccumulation in the workspace.
Through diligent upkeep, this DIY solution delivers ongoing benefits, including sustained air purity and streamlined workflows in woodworking projects.