Why Milk Paint Penetrates Wood Instead of Coating It
A worn dresser or a chair with faded finish often appears irreparable, yet milk paint offers a straightforward path to renewal. This paint avoids masking the wood's history; instead, it integrates deeply into the surface. Restorers, hobbyists, and professional woodworkers favor milk paint for projects demanding true-to-form texture and subdued hues free from artificial gloss.
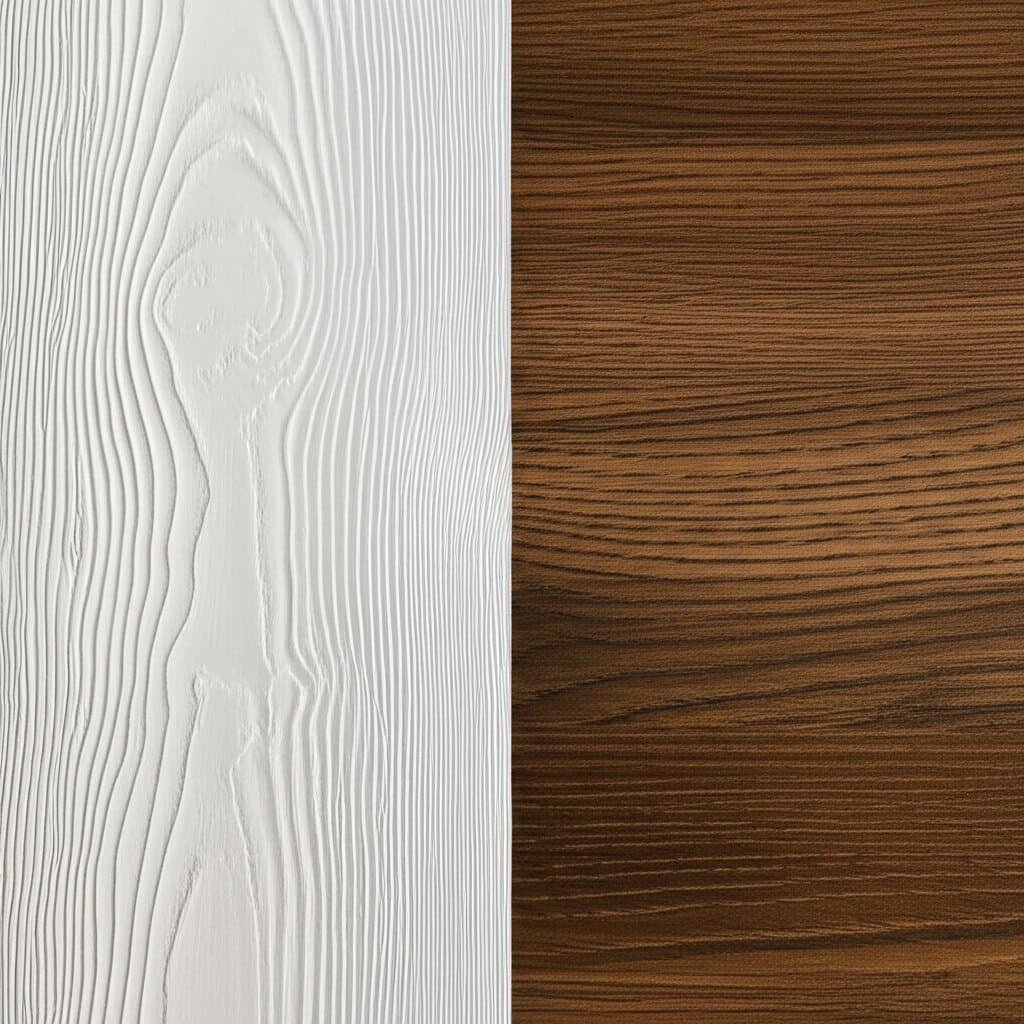
One quart of mixed milk paint typically costs between 25 and 35 dollars and covers approximately 70 square feet, making it accessible for various scales of work. The resulting matte surface complements aged wood's inherent beauty, allowing the grain to remain visible and tactile. Professionals select this paint to achieve results that evoke handcrafted heirlooms, preserving the piece's narrative through subtle color and varied depth.
Understanding Milk Paint's Composition
Milk paint derives from simple, natural ingredients: casein from milk protein, lime, and earth-based pigments. When combined with water, the mixture yields a fluid consistency that soaks into wood fibers rather than building a thick layer. This penetration fosters a connection at the material level, ideal for pieces where surface uniformity would detract from character.
In contrast to modern latex or oil-based paints, milk paint forms a chemical bond with the wood's tannins. The surface remains porous, permitting vapor to pass through and preventing issues like bubbling in humid conditions. Solid wood furniture from earlier eras benefits greatly, as its components naturally shift with environmental changes without compromising the finish.
Key Properties Explained
- Casein and lime interact to form a durable mineral structure within the wood.
- Pigments disperse evenly, embedding into the grain for color that evolves subtly over time.
- The outcome delivers a chalk-like matte effect, replicating the look of historical finishes.
For enhanced durability, apply a sealant such as beeswax, tung oil, or a clear waterborne polyurethane. These additions subtly alter the appearance, so experimentation on scrap wood proves essential. Select based on desired sheen: wax for a soft glow, oil for nourishment, or polyurethane for added resilience.
Preparation for Mixing
Prepare test samples with a ratio of one part powder to two parts water. Stir until the consistency resembles thin cream, then pass through a fine sieve to eliminate any granules. This process ensures smooth application and prevents imperfections in the final coat.
Historical Context and Modern Appeal
Originating in ancient Egypt and widespread in colonial America, milk paint served as a staple for everyday furniture. Artisans valued its quick-drying nature and ability to highlight wood's natural variations. Today, it aligns with sustainable practices, utilizing non-toxic components that minimize environmental impact.
Contemporary users appreciate its versatility across styles, from Shaker simplicity to rustic farmhouse designs. The paint's low volatile organic compound content makes it suitable for indoor applications, even in homes with sensitive occupants. Availability in pre-mixed forms or powders allows customization to match specific project needs.
Budget Considerations for Milk Paint Projects
Projects with milk paint prove economical when compared to synthetic alternatives. A single quart of prepared paint suffices for substantial coverage, accommodating everything from small accents to full room ensembles. Consider these cost estimates for typical undertakings:
- Small items like chairs or end tables: Materials total 10 to 15 dollars.
- Medium furnishings such as dressers or sideboards: Expenses range from 25 to 50 dollars.
- Larger structures like armoires or bookcases: Budget 50 to 80 dollars.
Factor in supplementary costs of 10 to 20 dollars for additives like de-waxers on glossy bases or protective topcoats. These elements ensure longevity without escalating expenses significantly.
Strategies for Cost Efficiency
- Prepare only the required amount, as unused portions lose viability within days.
- Repurpose remnants for frames, trays, or decorative objects.
- Source individual pigments to blend bespoke shades; a modest quantity colors a full batch.
Invest in reputable suppliers for the base powder, characterized by uniform particle size and vibrant color retention. Inferior products risk flaking or uneven results, undermining the project's value.
Step-by-Step Application Guide
Success with milk paint hinges on methodical preparation and technique. Begin by assessing the wood: raw surfaces accept the paint readily, while sealed ones require a bonding agent to promote adhesion.
Clean thoroughly with a degreaser, followed by light sanding using 220-grit paper to open the pores. Apply the paint in thin, even strokes with a natural-bristle brush, allowing each layer to dry fully—typically one to two hours. Two coats generally suffice for opacity, with distressing between applications to reveal underlying tones if desired.
Tools and Techniques
- Surface cleaning: Employ trisodium phosphate solution, rinsed well to remove residues.
- Mixing: Combine in non-reactive vessels like glass jars; avoid prolonged exposure to air.
- Application: Brush in the direction of the grain for seamless integration.
- Drying: Position in a well-ventilated area away from direct sunlight to prevent rapid evaporation issues.
- Finishing: After 24 hours, lightly sand any raised fibers before sealing.
This approach yields professional outcomes accessible to novices.
Avoiding Pitfalls in Milk Paint Use
Simplicity defines milk paint, yet certain oversights can compromise quality. Awareness of these issues equips users for flawless execution.
Frequent Challenges and Solutions
- Inadequate preparation: Residues block penetration; mitigate with thorough degreasing and sanding.
- Excessive agitation: Bubbles form from aggressive mixing, causing brush marks; opt for slow, swirling motions.
- Overly heavy layers: Thick applications lead to cracking; prioritize multiple light coats.
- Incompatible materials: Metal utensils react with lime, shifting hues; select plastic or wooden alternatives.
- Environmental factors: Elevated humidity prolongs curing and mutes vibrancy; maintain indoor conditions around 70 degrees Fahrenheit.
Should uneven spots appear post-drying, address them by gently abrading with 0000 steel wool, followed by a sealant application. This method refines the surface and imparts a refined luster.
Long-Term Care and Patina Development
Following application, milk paint cures progressively over several days, transitioning from a powdery feel to a smooth tactility. Sealing accelerates this process and shields against daily wear.
Routine upkeep involves dusting with a soft cloth and occasional wiping using water and neutral soap. Steer clear of abrasive cleaners or solvents, which erode the delicate bond. The finish matures gracefully, acquiring a warm patina that accentuates age.
Repairs blend seamlessly: prepare a matching tint in small volume and apply sparingly to imperfections. The penetrating nature ensures harmony with the existing layer upon curing.
Customizing Milk Paint for Unique Results
Adapt milk paint to personal vision by experimenting with additives and techniques. Introduce earth tones or pastels through pigment blending, testing for harmony with the wood species.
Layering colors creates depth: base with a neutral shade, then overlay accents for a weathered effect. Distressing tools like sandpaper or chains reveal strata, mimicking centuries of use. For contemporary twists, combine with modern stains beneath the paint for enriched undertones.
This flexibility empowers creators to infuse personality into each piece, transforming standard furniture into bespoke treasures. The enduring appeal lies in results that feel organic and lived-in, rewarding the effort with lasting satisfaction.