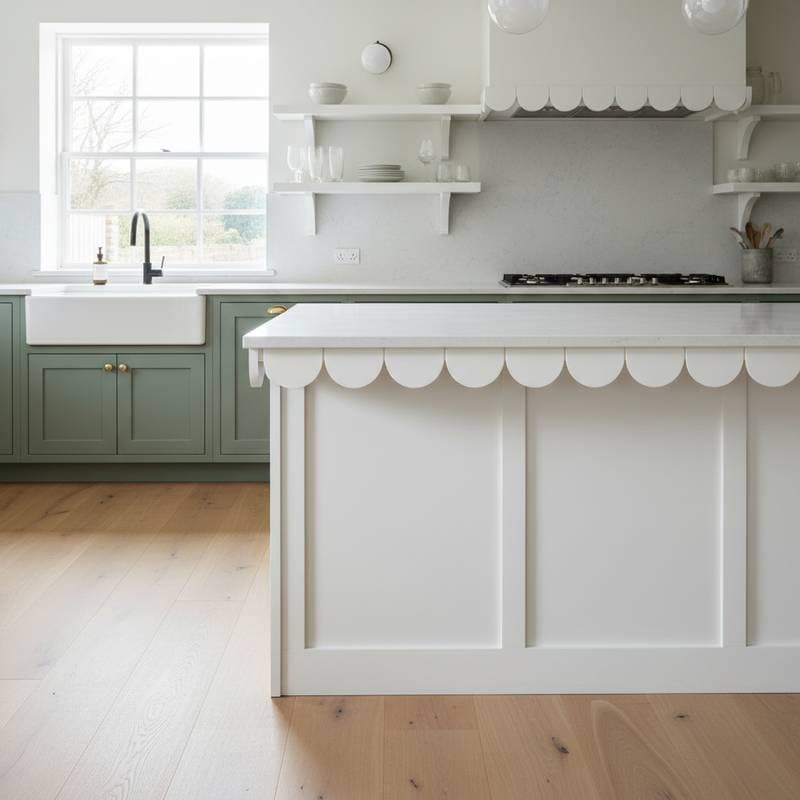
Applications: Cabinet valances, shelf edges, built-in furniture
Understanding Scalloped Trim Design
Scalloped trim derives its name from the scallop shell's undulating shape, adapted here for woodworking. Each scallop consists of a smooth arc that repeats along the trim's length, creating a wave-like profile. This pattern softens harsh lines in cabinetry, making rooms feel more inviting and less institutional.
In 2025 trends, scalloped trim aligns with a broader movement toward organic forms in interior design. Architects pair it with minimalist hardware and neutral palettes to highlight its subtle elegance. For woodworkers, the challenge involves balancing aesthetic appeal with structural integrity, ensuring the curves enhance rather than detract from functionality.
Consider the scale: narrower scallops suit delicate drawer fronts, while wider ones fit boldly on island counter edges. Testing patterns on scrap wood helps visualize the final effect under room lighting. This preparatory step prevents costly adjustments during installation.
Step-by-Step Guide to Creating Scalloped Trim
Creating scalloped trim requires planning and precise execution, whether by hand or with power tools. Begin with quality stock to ensure durability and a fine finish. The process rewards attention to detail, yielding pieces that appear professionally crafted.
-
Prepare the Layout: Select straight-grained lumber or sheet goods cut to length. Use a flexible curve ruler or create a paper template to mark scallop positions. Aim for consistent spacing of 3 to 5 inches between arc peaks, with depths of 1 to 1.5 inches to maintain strength.
-
Rough Cut the Curves: Secure the workpiece on a stable bench. Employ a bandsaw for efficiency on longer pieces or a jigsaw for shorter runs. Guide the blade steadily to follow the marked lines, keeping it perpendicular to avoid uneven depths.
-
Refine the Edges: Transfer the cut pieces to a spindle sander for smoothing, or use rasps and files by hand for control. Work progressively finer grits to achieve a silky texture that invites touch. Inspect each scallop for symmetry, adjusting as needed.
-
Apply Finishing Touches: Seal raw edges with a conditioner to prevent blotching during staining. For painted finishes, prime thoroughly before topcoats. Attach the trim using glue and brad nails, clamping until set for a seamless bond.
Production environments benefit from CNC routers, which automate the cutting with programmable paths. A 1/4-inch ball-end bit produces crisp radii without scorch marks. Follow machine work with light hand-sanding to impart a handmade warmth.
The scallop's rhythm adds visual interest comparable to crown molding, yet it demands less material. This efficiency appeals to budget-conscious builders while delivering high-end results.
Budgeting for Scalloped Trim Projects
Custom scalloped trim in premium hardwoods like maple or cherry commands $18 to $35 per linear foot, reflecting the labor-intensive shaping. More affordable options include poplar at $15 per foot or paint-grade MDF starting at $10 per foot. These materials allow experimentation without excessive expense.
Professional installation inflates costs by $25 to $50 per foot, depending on site access and finish complexity. Factor in additional expenses for tools if starting from scratch, such as a dedicated sanding drum at $50. Total project budgets for a standard kitchen might range from $500 to $2,000.
To optimize spending, source lumber in bulk from local mills for discounts. Opt for MDF in concealed areas like pantry shelving, reserving hardwoods for visible surfaces. Reusing templates from plywood scraps ensures uniformity across multiple pieces, minimizing waste.
Finishing represents a critical investment; allocate time for multiple thin coats to preserve curve definition. Rushed applications lead to drips or uneven coverage, undermining the trim's elegant flow.
Avoiding Pitfalls in Scalloped Trim Work
Curved profiles introduce unique challenges that test even experienced craftspeople. Inconsistent arcs disrupt the pattern's harmony, drawing attention to flaws. Establish a reliable jig early to replicate shapes accurately across the run.
Excessive depth compromises trim stability, particularly on vertical applications prone to warping. Limit cuts to 1.5 inches maximum, reinforcing with backing strips if necessary. This approach safeguards against breakage during handling or daily use.
Finishing errors often stem from thick applications that obscure details. Build layers gradually, sanding lightly between each to retain scallop contours. Test sheens on prototypes to match room ambiance, avoiding glossy finishes that amplify imperfections.
Grain orientation affects cut quality; always align the blade path with the wood's flow to minimize tear-out. Pre-seal end grains on curved edges to resist humidity fluctuations, especially in kitchens. These precautions extend the trim's lifespan and appearance.
For troubleshooting, maintain a log of test cuts, noting tool settings and outcomes. This record informs future projects, refining techniques over time.
Essential Resources for Implementation
Visual guides accelerate learning for scalloped trim. A layout diagram illustrates 4-inch scallop spacing on a cabinet valance, showing arc intersections and measurement points.
Alt text: Scalloped trim pattern template with evenly spaced arcs.
A cross-section view reveals the profile in maple, highlighting 1-inch depth and smooth radii for optimal light play.
Alt text: Cutaway view of curved trim edge displaying depth and radius.
Incorporate these elements into shop drawings for precise replication. Pair with digital design software for virtual previews before committing to wood.
Elevating Projects with Scalloped Precision
Scalloped trim infuses cabinetry with subtle motion and artisanal depth, turning standard builds into signature pieces. Precision in layout and finishing unlocks its full potential, rewarding woodworkers with versatile applications from kitchens to custom furniture. Experiment with scale and material to suit specific visions, achieving timeless results that endure.